Home Assistant is one of the greatest tools in any home automation toolkit. Featuring 3000+ smart home technology integrations, it is fast becoming the go to if you want to automate your house and life.
But as you crawl deeper down the rabbit hole, it quickly starts to appear that the only easy and reliable way to access your Home Assistant server from outside your house is to utilise the built-in Nabu Casa remote access feature. And whilst this is a fantastic and secure service, it’s not free.
There are a few different ways we can avoid this by utilising free offerings. One of the quickest and most reliable we have found is the CloudFlared add-on for Home Assistant OS.
System Requirements
- Home Assistant Operating System (HAOS) installed and operating (We will look at an article later supporting docker based installations)
- A CloudFlare login (free)
- A domain managed by CloudFlare DNS service (free)
So why CloudFlared?
CloudFlared, not to be confused with CloudFlare the provider, is an add-on module for HAOS. Written and maintained by Tobias Brenner, it is a quick and easy way to add CloudFlare tunnel capability to your HAOS server.
The main repository can be found here – https://github.com/brenner-tobias/addon-cloudflared
This add-on is extremely capable and has a lot of different options available for customisation. We are going to cover a very simple installation and usage of it, but please have a look at the documentation provided on the GitHub repository for the more advanced options.
How do I install it?
Open up your Home Assistant web page – generally found at http://{youripaddress}:8123 and select the “Settings” option from the Navigation menu.
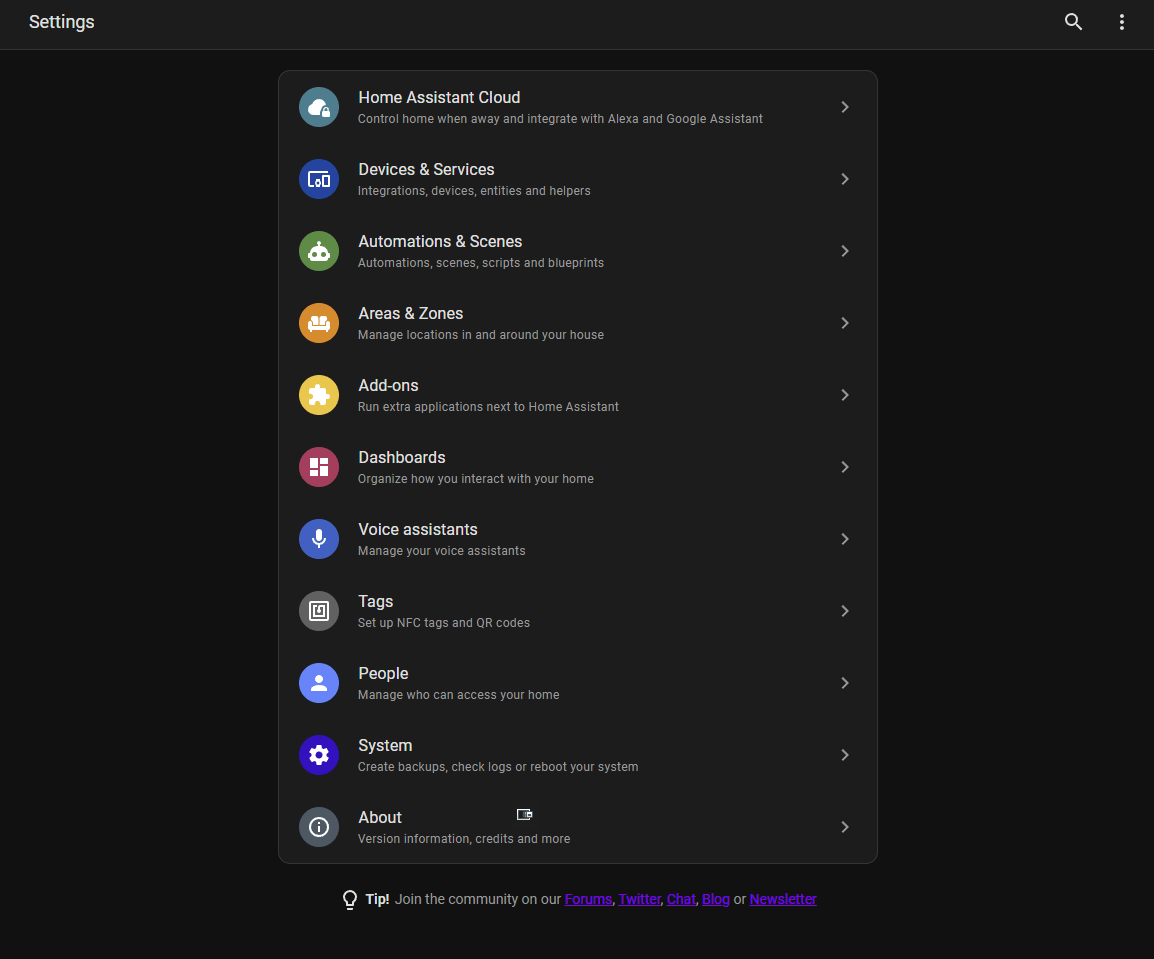
Then select the “Add-ons” option
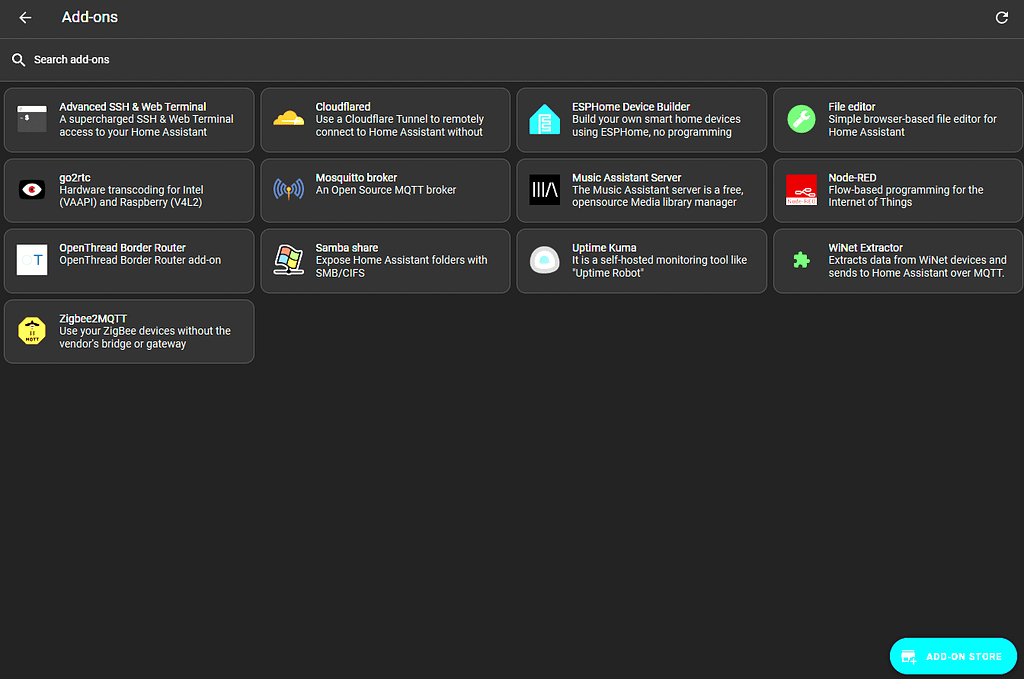
As you will see in the above image, I have a few add-ons installed, including CloudFlared.
For a new instance, we will need to add the repository for CloudFlared and then install it.
Click on the “Add-on Store” button in the bottom left corner.
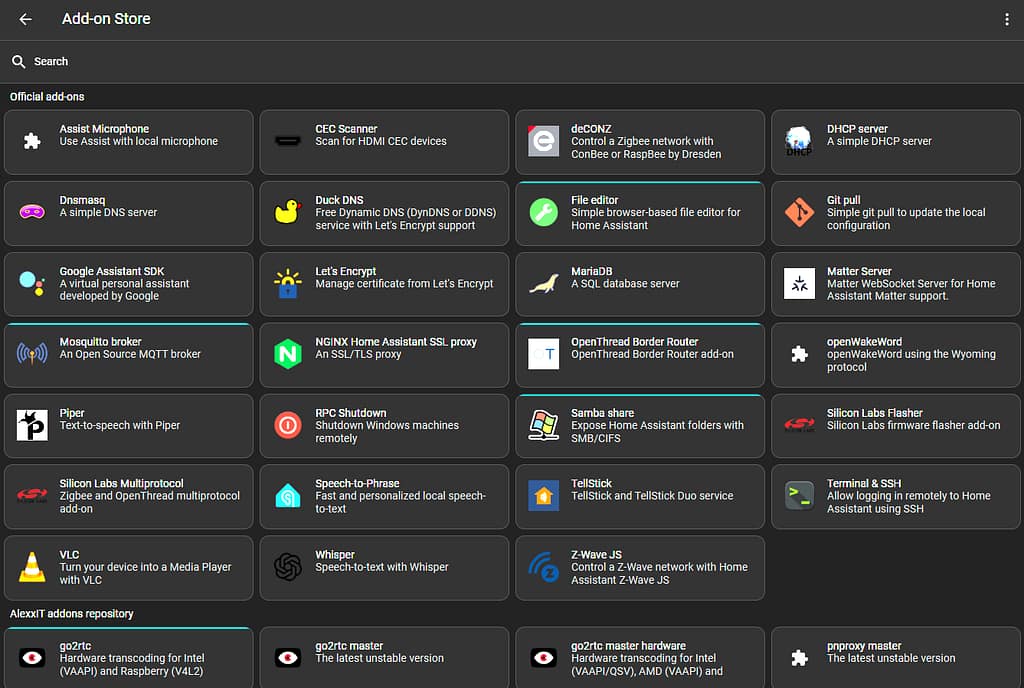
This will bring you to the add-ons collections that are provided by HAOS. Your store may not have all the same listed as mine, but start by searching for “CloudFlared” in the top search bar.
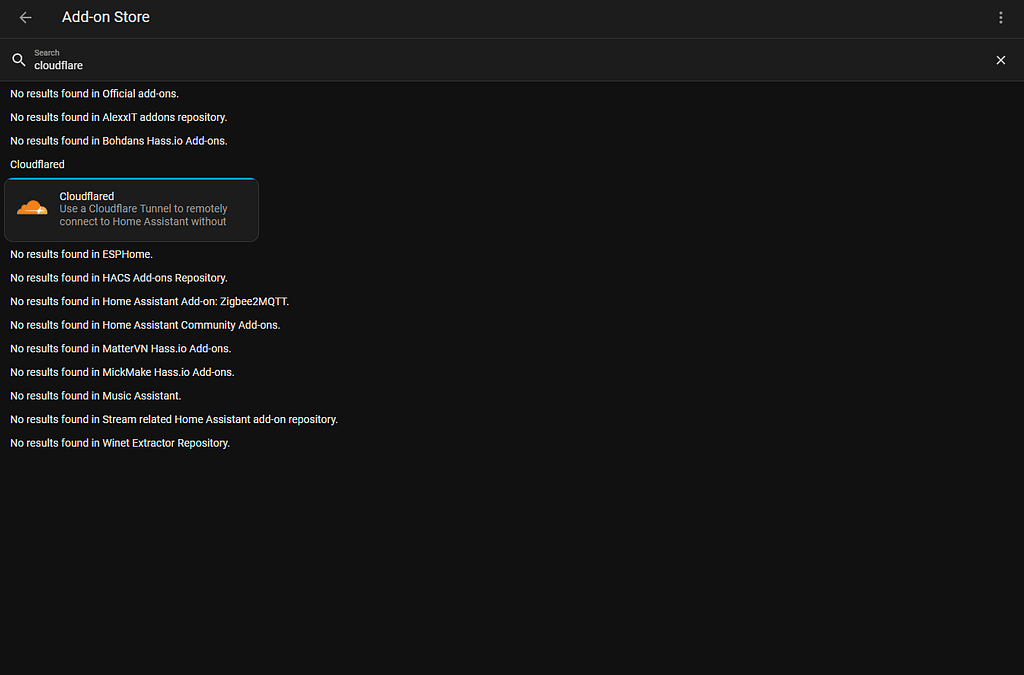
If you’re lucky, it will show up like above because a repository you have added has it included. If not, we need to add the repository to the store.
Click on the 3 dots menu in the top right hand corner and select “Repositories“
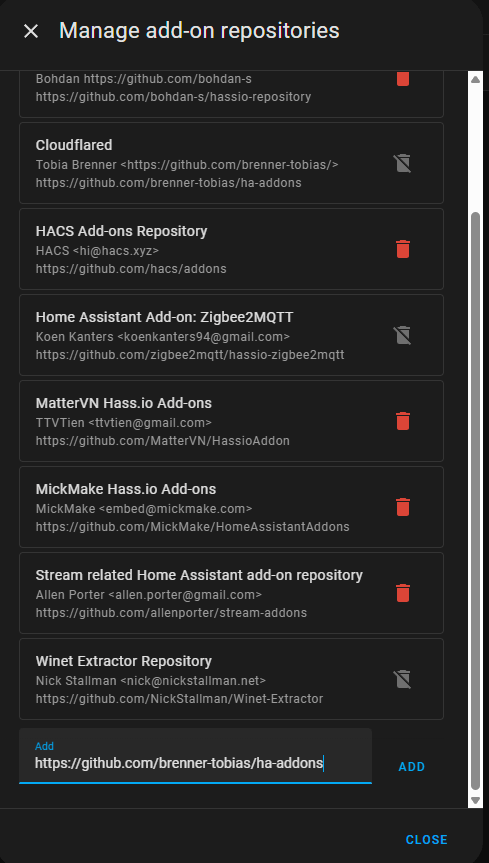
As before, my list will differ slightly to yours, but add the repository link to the Add box at the bottom and click “Add“
Here is the address to add:
https://github.com/brenner-tobias/ha-addonsOnce that is added, click back to navigate back to your add-ons screen.

Click the Refresh button in the top right of the screen to refresh all the repositories.
Click on the “Add-on Store” button in the bottom left corner.

This will bring you to the add-ons collections that are provided by HAOS. Your store may not have all the same listed as mine, but start by searching for “CloudFlared” in the top search bar.

This time, it should show up like above because you have added the repository. If not, click the 3 dots menu in the top right hand corner and select “Check Updates“.
Now click on the CloudFlared module and select the “Install” option
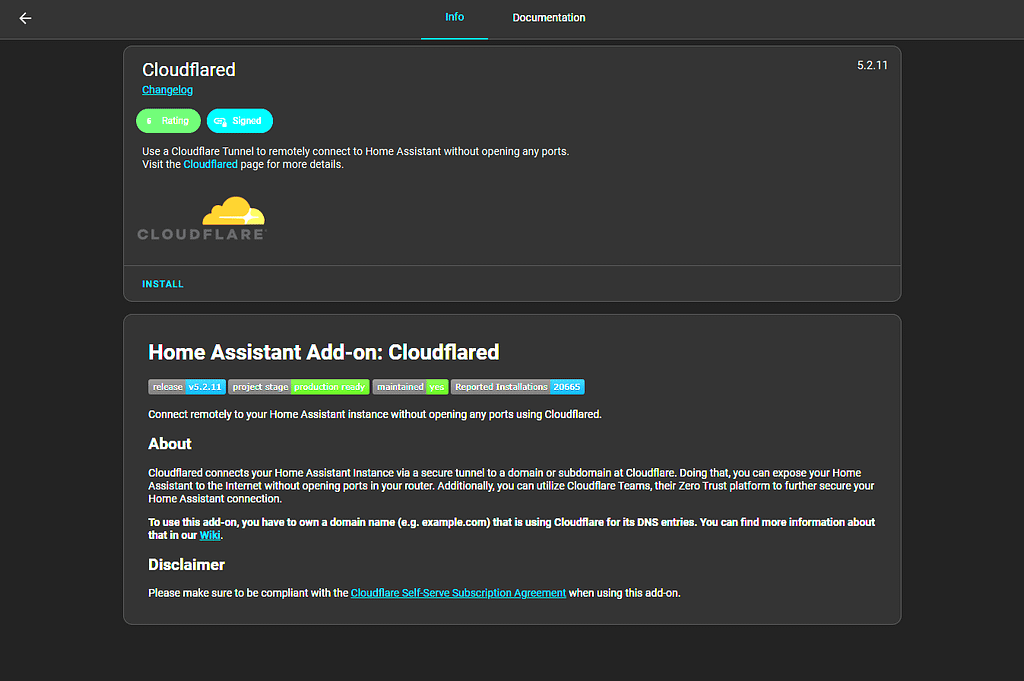
Once the installation has completed, you will be presented with the front page configuration screen.
My personal preference is to turn on the “Start on Boot” and “Watchdog” options.
I’m not a fan of having automatically updating addons and they can (more likely will) break themselves at some stage and it becomes hard to find what’s broken if you aren’t aware what has updated.
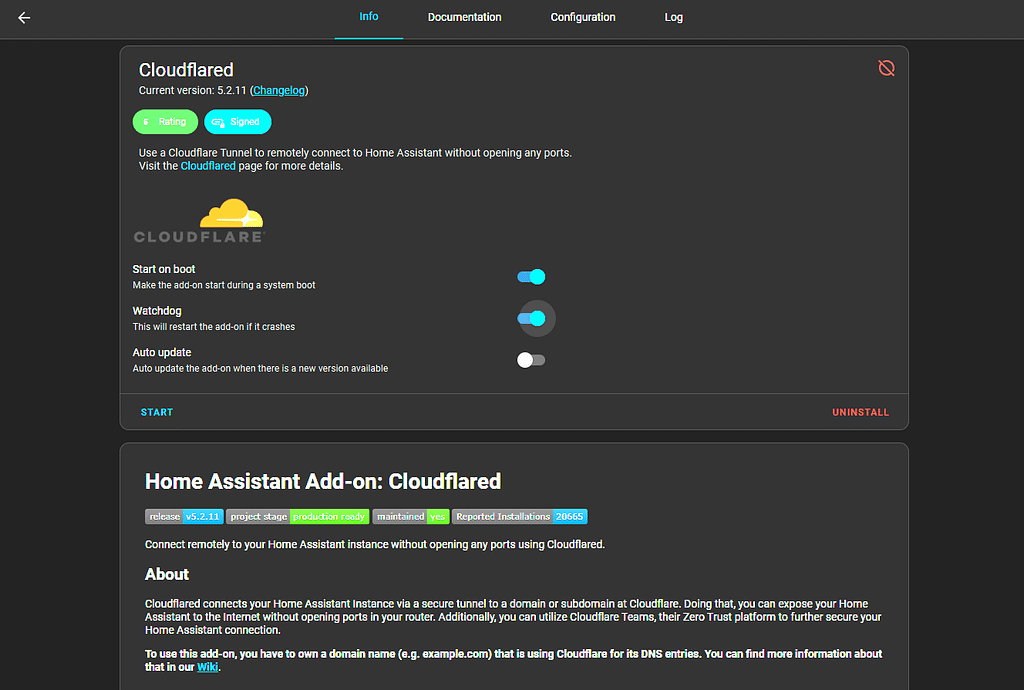
We won’t start the module until we have finished configuring it and then also creating the tunnel on the CloudFlare website so click on the “Configuration” tab at the top.
Under the Options panel, add your hostname that you wish to use externally to access your HAOS server.
For this example, I will be using “demo.jrbconsulting.au”
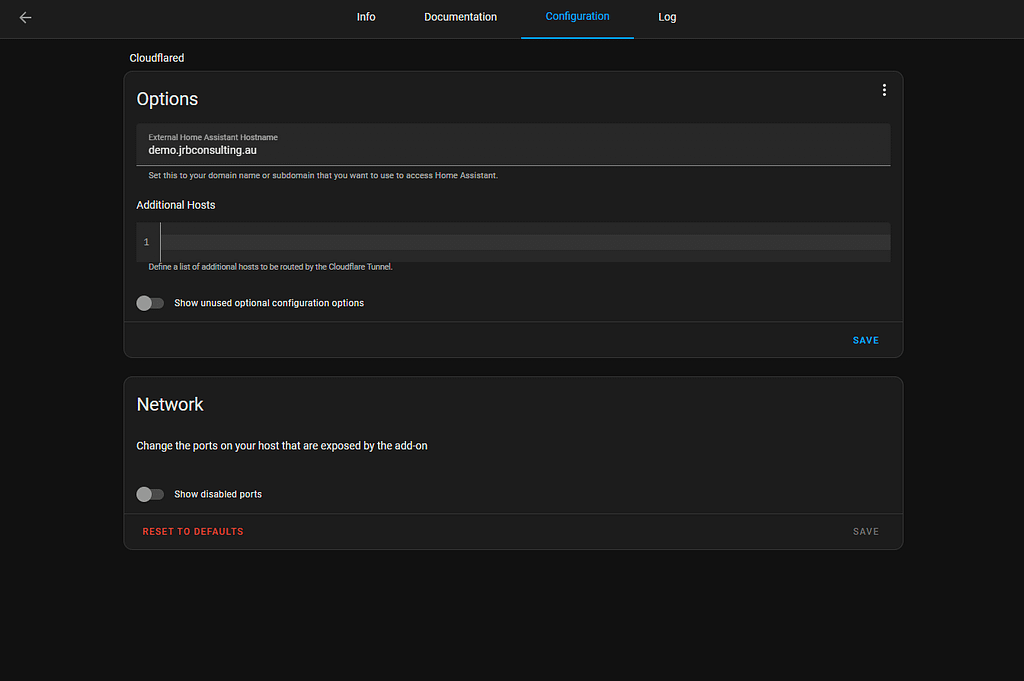
NOTE: The DNS for the main domain (in my case jrbconsulting.au) must be managed by CloudFlare in order to utilise their tunnels feature.
Navigate back to your Info tab and press “Start“
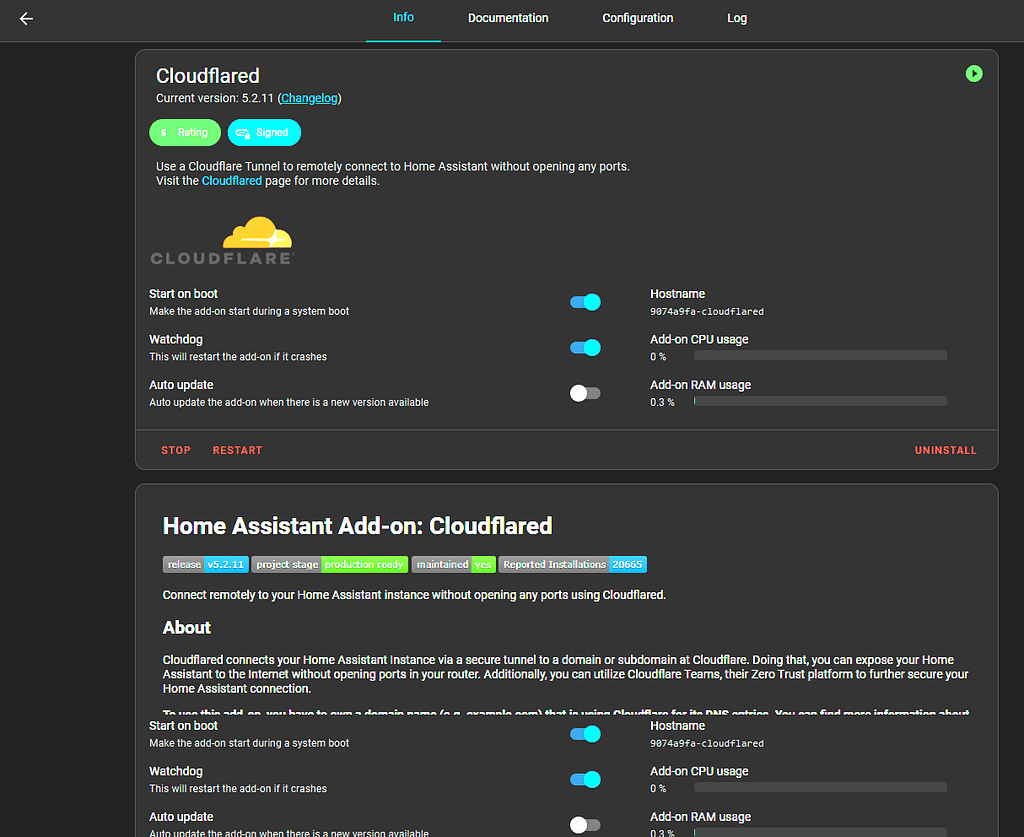
This will fire up the module and generate a link for you to authorise and create your tunnel.
To find this link, click on the “Log” tab.
You should see a window that looks like this:
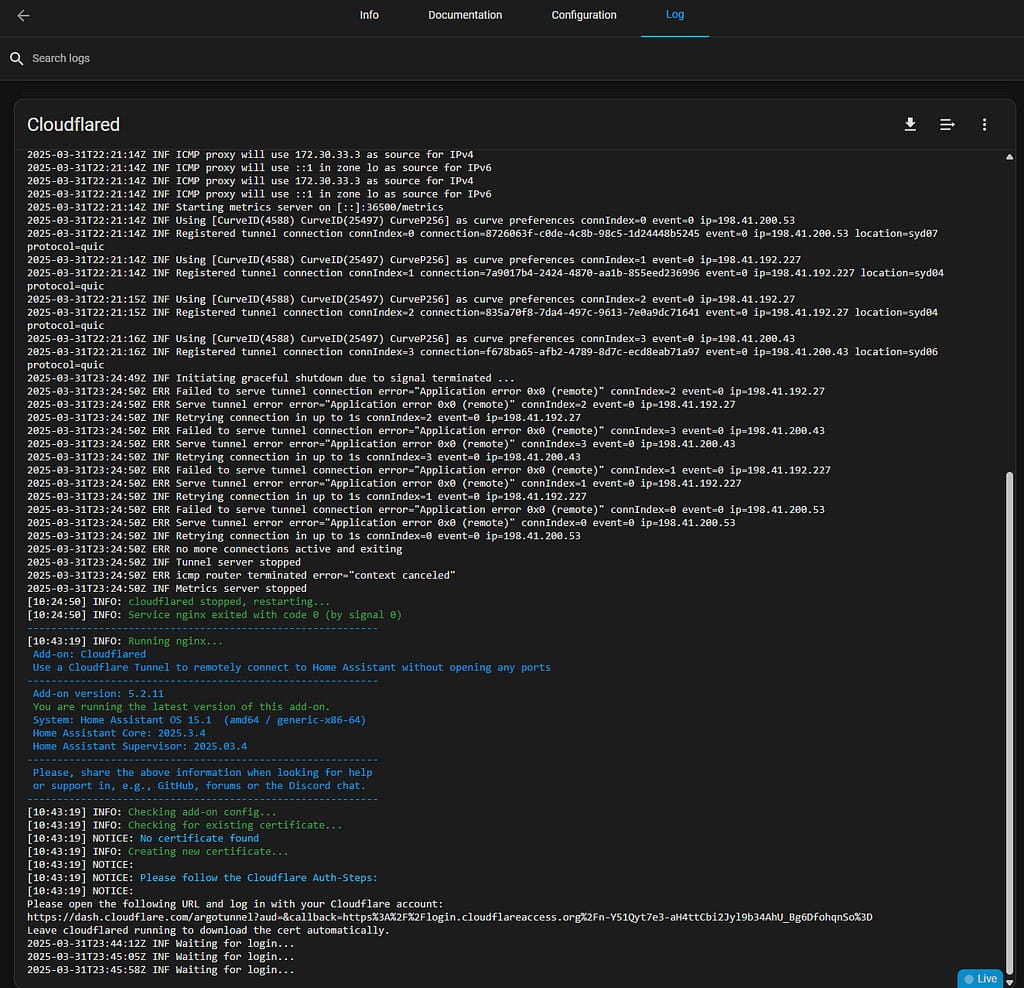
Copy your link into your browser and use it to log into CloudFlare – mine is just an example and won’t work.
When CloudFlare webpage loads up, select the master domain for your tunnel. In my example, it is jrbconsulting.au
You will receive a notification that CloudFlared has installed a certificate which will allow you to create a tunnel.
Next step is to open the CloudFlare website and log in to your account.
Unfortunately as the following pages have private information on them, I will not be able to show screenshots for most of them.
Once logged in to CloudFlare, you should be at your dashboard showing all your domains.
On the left hand menu select “Zero Trust“
Once you have been transferred to the Zero Trust page, on the left hand menu click the “Networks” dropdown and select “Tunnels“
On the Tunnels page, you should see your automatically created homeassistant tunnel. If the status is Healthy, you’re all good to go.

Open a new browser window and navigate to your newly created Home Assistant tunnel address and you should now see your home assistant login screen – for this example, mine was “https://demo.jrbconsulting.au”
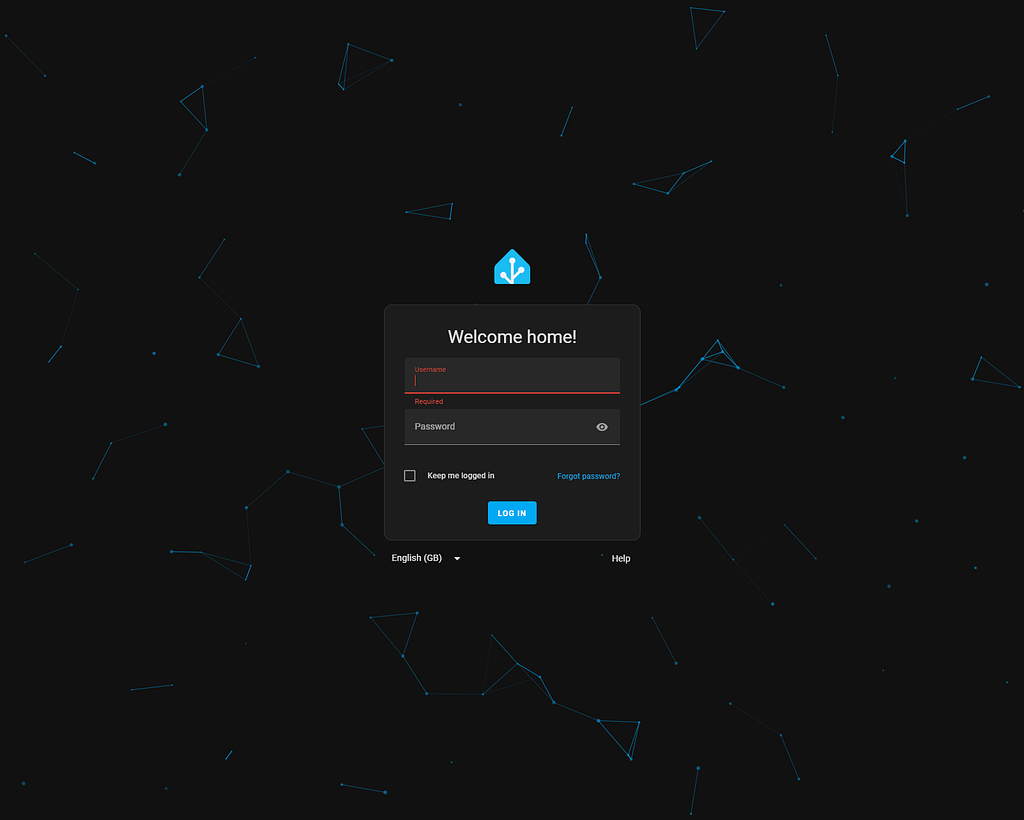
As above, the CloudFlared add-on for HAOS is a nice quick way to create secure and reliable remote access to your home assistant server. You don’t have to deal with static or dynamic IP addresses, CGNAT or any of those technical issues, it just works.
For people running non-HAOS installations of Home Assistant, there are options to run a dockerized CloudFlared instance, but that’s a story for another day.
I will also note that you should make sure that you have other security features enabled in your Home Assistant like 2FA for all logins. Helps keep the bad guys at bay now that you are accessible externally.


